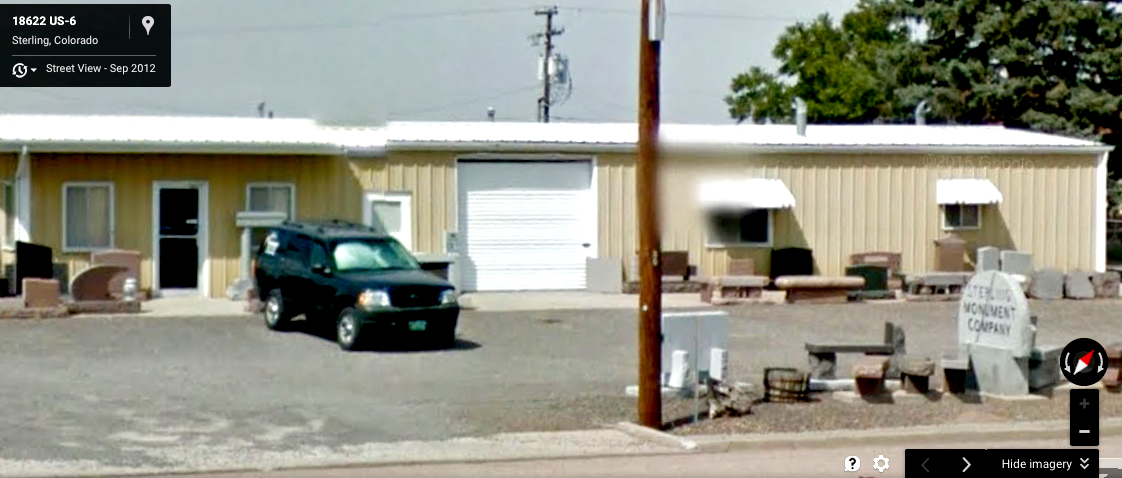
Once I have my drawing the next step is to sandblast the background. The fastest way to get a fairly even background for a bas-relief, low relief, is to sandblast it using an automated sandblaster. The people who have these kinds of machines are monument makers. Larry Seal at Sterling Monument in Sterling, Colorado and I have become good friends over the years and it is always fun to drive up to this prairie town to get a quick start on new projects.

I enlarge my original drawing to the actual size of my stone at a FedEx Store that has a large-format printing and scanning machine. I don’t worry about the size of my original drawing. I simply use a proportional wheel to determine how much I need to enlarge the print to fit the stone.
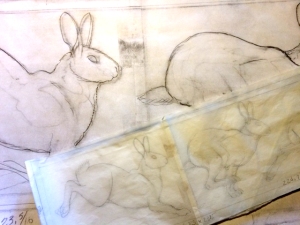
This is a detail shot of the original drawing of rabbits and a larger version of the same picture at 225%
Next I paint rubber cement onto the clean surface of my stone. As soon as the glue is tacky I position the stencil and smooth it so that it has a good, bubble-free bond with the stone. Rather than giving you supply information it would be good to go with the materials your sandblast provider uses. I just purchase my materials from Sterling Monument. If you do a Google search for monument supplies you will find lots of different materials and distributors.
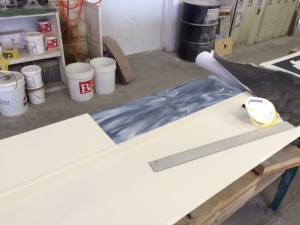
This picture shows the slate slab which has been covered in glue as seen in the upper right hand corner. Rubber stencil has been applied to the rest of the stone.
Once the stencil is in place I transfer the image. I make my own graphite paper because it is such a large format. I start with a two and a half foot length of tracing paper. I fill in a two foot swath of soft graphite, I think this is 4B, almost to the edges of the paper, this is one foot wide. Once I have a fairly even layer of graphite I wet a cotton ball with 91% isopropyl alcohol and smooth the graphite into an even layer. Once it is dry it is ready to use. When the graphite becomes uneven you can recharge the same piece of paper with more graphite. If you take care of your graphite paper it can last quite a long time. Save your cotton ball, it only gets better as it absorbs more graphite.
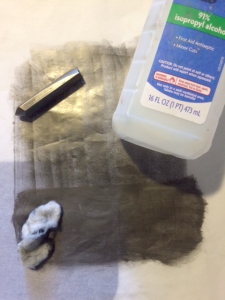
This is a small example of the technique to make graphite paper. It shows a graphite 4B pencil, you can use regular pencils too, that has been used to lay down a fairly even layer of graphite. Below that is a cotton ball soaked in alcohol and then used to distribute the graphite evenly over the surface.
I transfer the image to the rubber stencil by taping down the image. I then slip the graphite paper face-down between the drawing and the stencil. I move the graphite paper as I move across the drawing. Since I am only blasting the background I only outline the basic shapes of the objects.
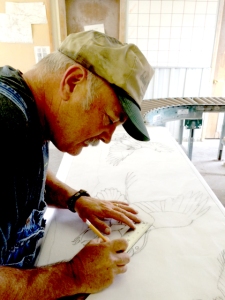
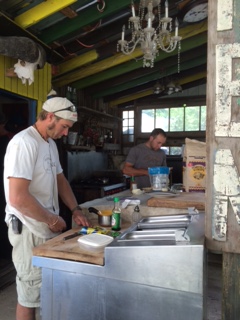
In this image Larry is tracing the image to transfer it to the stencil.
I use an Exacto blade to cut around these shapes. I hold the blade so that the sharp edge is facing up. This way I don’t dull my blade on the stone.

A blade with the sharp edge facing up will split the stencil without dulling the blade on the stone surface.
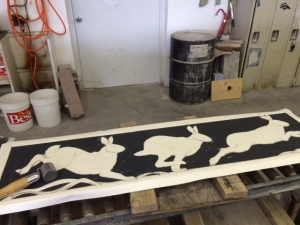
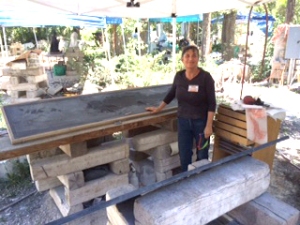
This is the basic image I am carving with the background exposed. After I remove the stencil from the background I use a heavy metal roller to make sure all the edges are tightly held in place. It is now ready to be sandblasted. The roller is in the lower left hand corner of this picture.
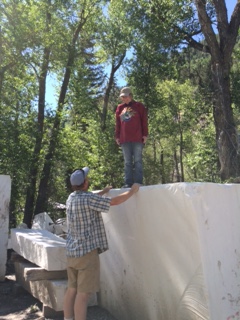
The automated sandblaster is able to evenly spray sand over the entire surface of the stone. The sand is held in a tank that ties in with high pressure air. The air and the sand are funneled through a nozzle that is attached to a track at the front of the booth. The stone is carefully positioned vertically and at an even distance from the nozzle in the sandblast room. Once the air is turned on it is hard to see anything. The motor moves the nozzle back and forth with an incremental step-up as it changes direction at each end. Once it reaches the top of the stone the operator hits the down button so that it will complete another pass.
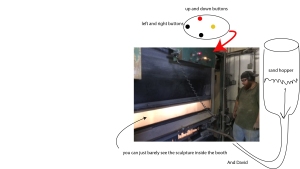
This diagram illustrates the sandblasting room and controls.
The slate I use generally takes about two passes to remove about 3/8”. I have to check after every pass however because there are so many variables; how hard is this batch of stone, how close is the nozzle to the work, how new is the sand, how high is the air pressure?
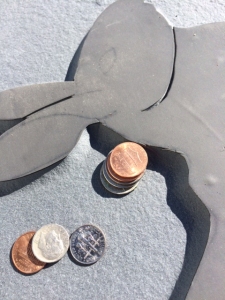
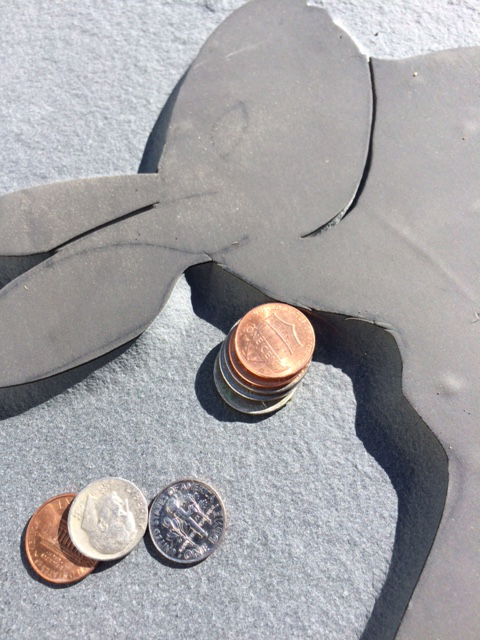
This detail shows how deep we took the background. It is easiest to talk about this in terms of coins. Here we went to a depth of three nickels and two pennies.
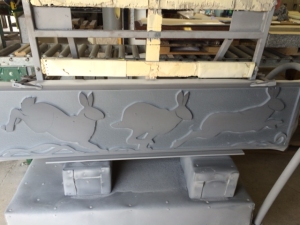
This shows the rabbit image once it is blasted. It is still clamped to the cart that holds it steady in the sandblasting room.
By starting with sandblasting I can do in a day what might take me a week to accomplish by hand.
My next blog post will be from Orlando, Florida. I will be attending the National Federation of the Blind National Convention July 5 through July 10, 2015. I am going to host an art exhibit, workshops, panel discussions and presentations in the Drop-In Art Room. If you happen to be in the area be sure to stop by between 1pm and 8:30pm Monday the 6th or Tuesday the 7th of July in the Orange County Convention Center, level 2, room 202a. Hope to see you there!
The post after that will be from Marble, Colorado where I will be carving this sculpture at the Marble/marble Symposium. It is an amazing event run by Madeline Wiener. She welcomes about 50 stone sculptors to each of the three sessions she runs each summer. Crazy fun!